assar.dev
KittyEngine & Editor
Since the beginning of the second year at The Game Assembly,
our game projects have been made in KittyEngine, our own game engine that we develop alongside the games. On top of my various engine-side contributions to the projects, a continuous task of mine has been developing the engine's integrated editor.
This page outlines and describes my contributions both to the engine itself and its editor. For some highlights, check out the following sections!
KittyEditor
Throughout all game projects that my team has worked on using KittyEngine, one of my responsibilities has been developing its integrated editor.
Overview
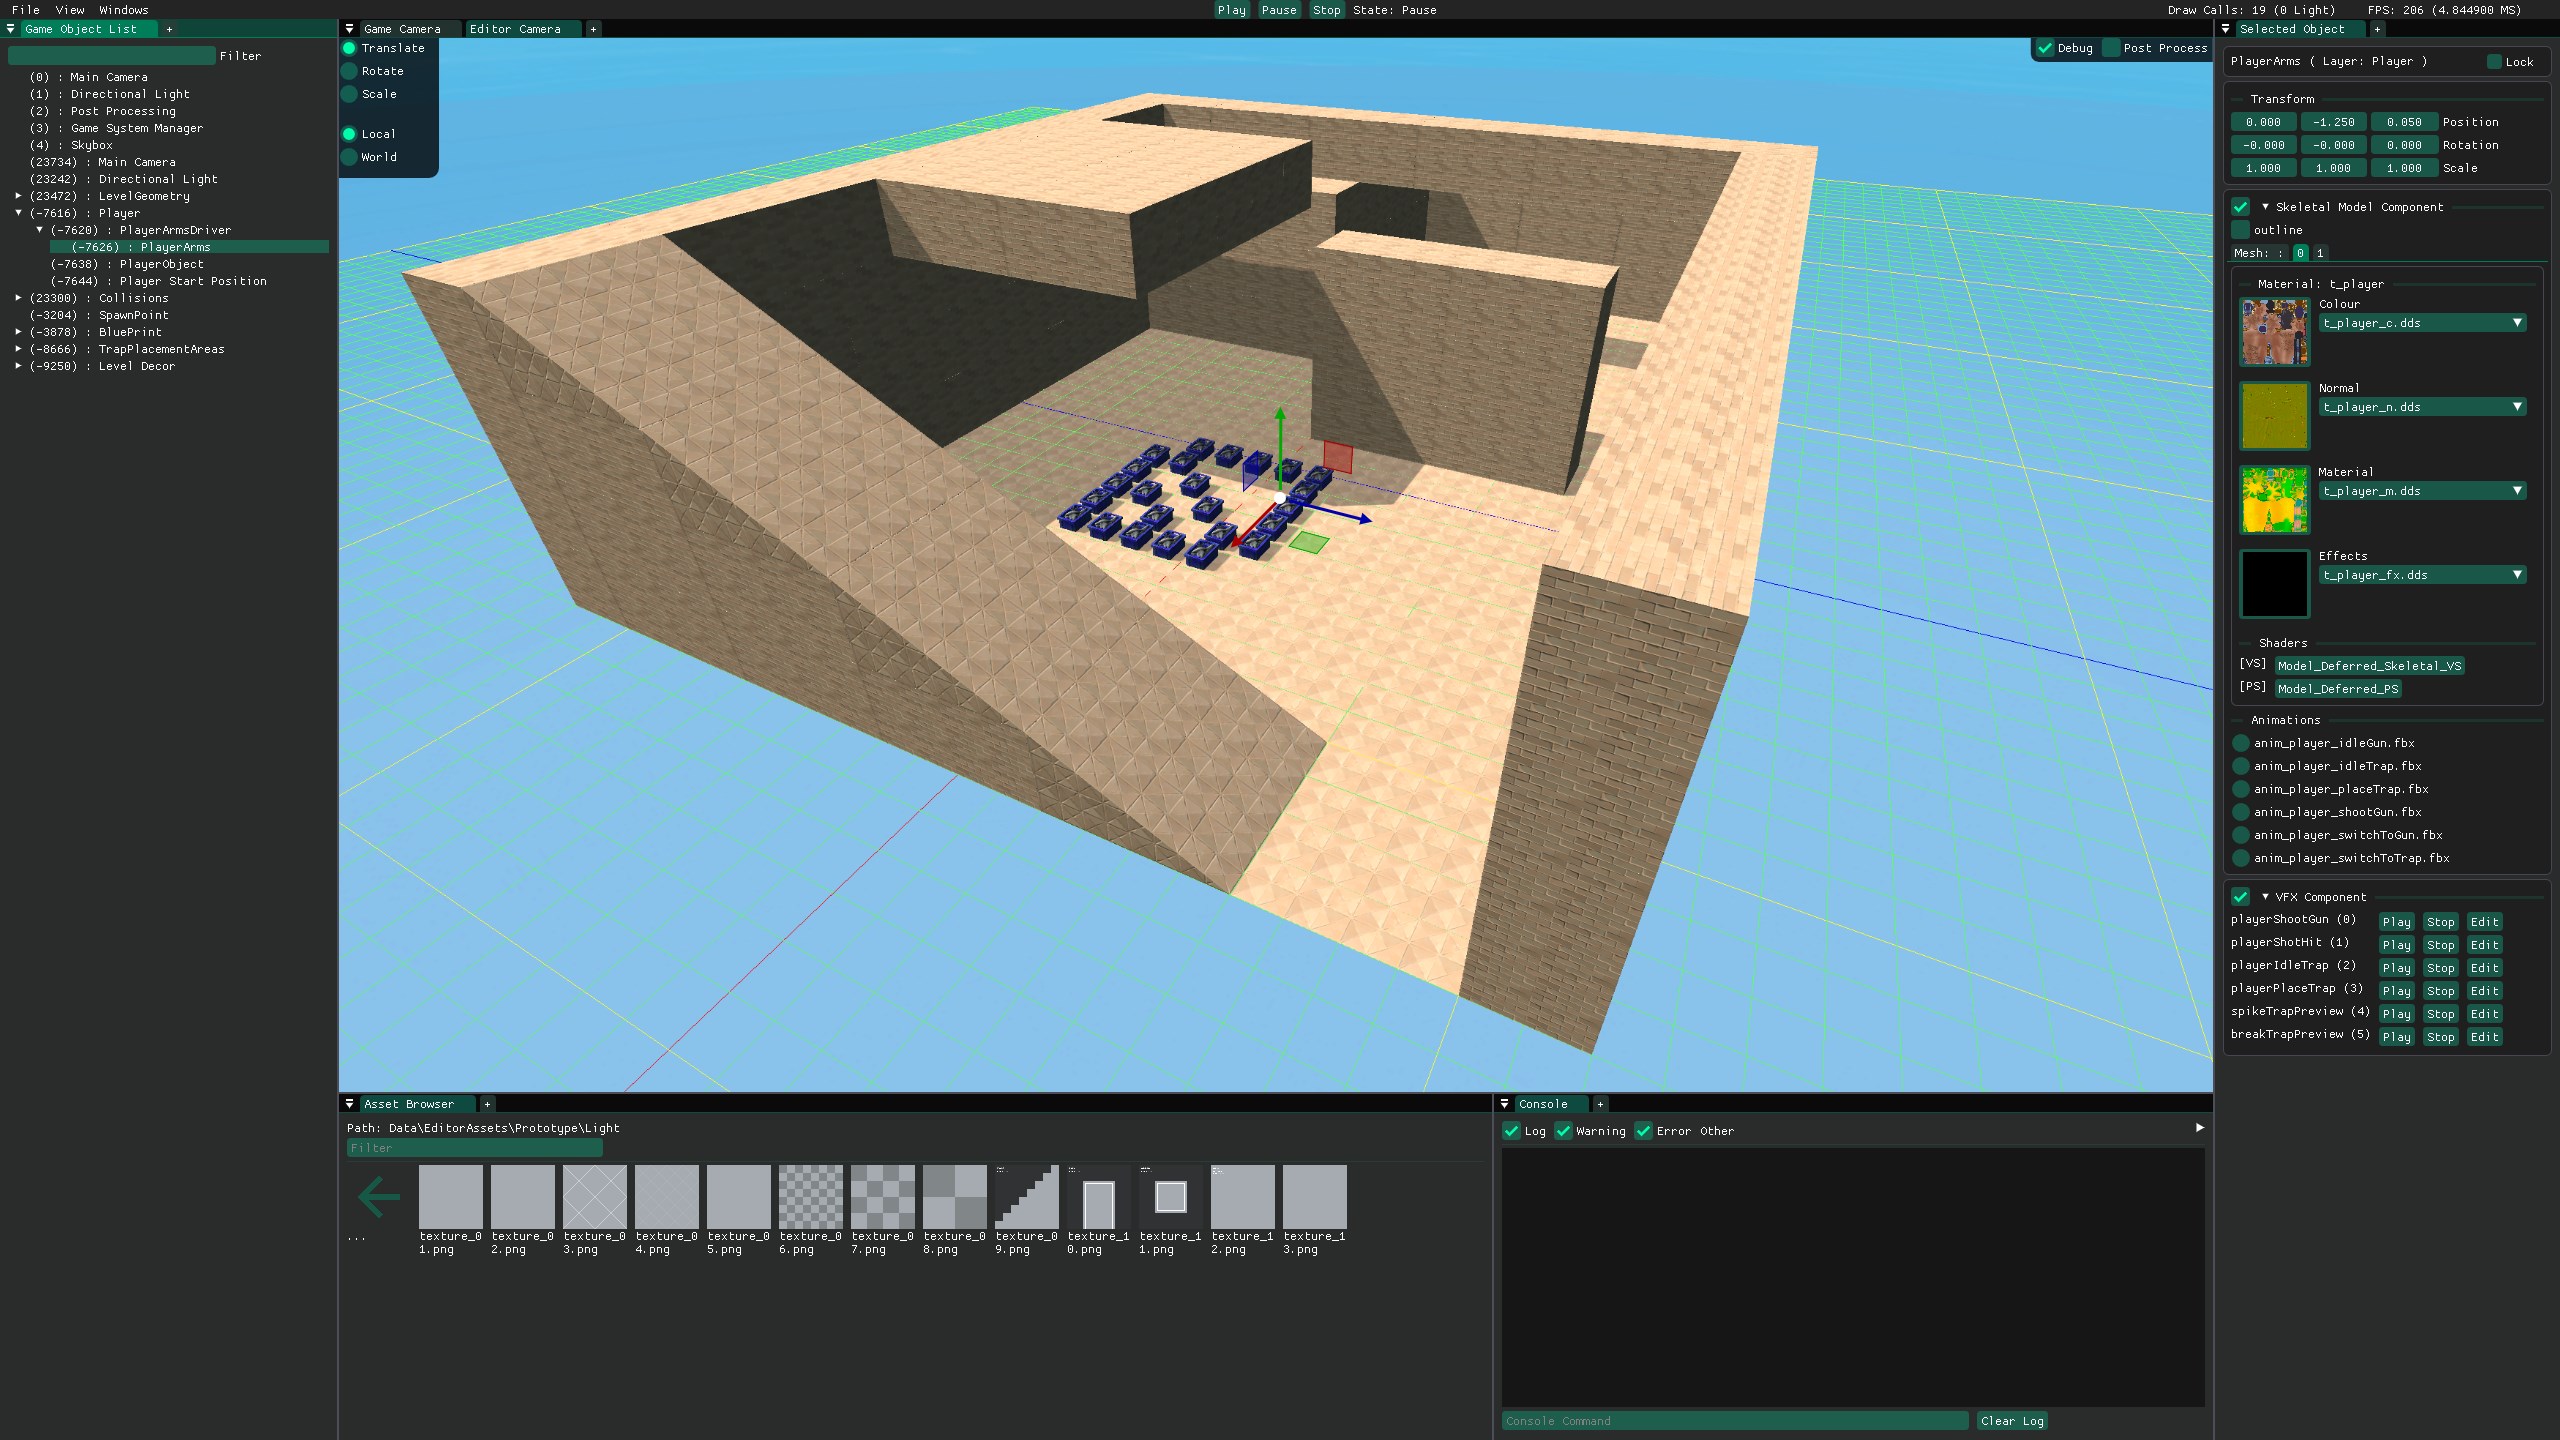
Using Dear ImGui for the editor's graphical interface, I have implemented an overall window structure befitting a game engine, as well as various tools for debugging, tweaking variables or settings, and creating game content.
Features
As needs and wants have evolved throughout our projects, so has KittyEditor's feature list.

Showcase of various editor menus, in a simple layout.
KittyVFX System
During the development of Spite: Hymn of Hate, I implemented KittyVFX, a system for designing and rendering visual effects entirely in-engine.
Rendering
At the heart of the system is the concept of a VFXSequence, a struct that holds the meshes and particle emitters that an effect consists of. For every effect member, it also has a list of Timestamps, points along the duration of a sequence that modify attributes like colour or texture coordinates of an effect member. When rendering a sequence, its playback progress is used to interpolate between Timestamps to calculate what modifiers to render with.
Editing
The KittyVFX Editor is based on the sequencer system from ImGuizmo, a 3rd-party library that I had already used in-engine object gizmos. In addition to the curves, the meshes and textures of sequence members can also be changed, allowing for bespoke artist-authored assets to be used easily.

A simple effect with two meshes, created using KittyVFX.
Screen Space Decals
Often, when decorating levels in games, adding details like graffiti or cosmetic damage to walls and ground is desirable. While a possible solution is to author modified variants of the models and textures in use, the rigidity, work, and asset count required for such a workflow makes it very impractical.
Enter Decals
As the name suggests, decal rendering is a technique that wraps textures around level geometry, allowing things like paint, splatter effects, and bullet holes to fit seamlessly into the world. For some cases, like flat walls and simple shapes, this can be achieved by calculating the shape and texture coordinates of a mesh to fit around it. However, with more complex geometry come more complex calculations, and this approach soon becomes unfeasible. Luckily, there is another way!
Enter Screen Space
Instead of rendering a mesh with a specific shape, a bounding volume can be drawn. Calculating and applying the decal texture can then be done entirely within the pixel shader, since it will run for every pixel that the volume covers. In the shader, a few steps are followed:
First, the pixel position is converted to a UV coordinate — a point within a texture — and used to calculate world position of what has already been rendered there. In KittyEngine's case, with the way its deferred rendering pipeline is set up, this is as simple as sampling the Geometry Buffer's worldPos texture, but this world position can also be reconstructed using the rendered depth.
Next, to ensure that nothing outside the volume is affected by the decal, the world position is multiplied with the inverse of the volume's transformation matrix. With a one unit cube as the volume shape, any point whose x, y and z coordinates are in the [-0.5, 0.5] range must be within the volume. With this step performed, not only is discarding any pixels outside the volume easy, but calculating UVs is too! Since screen space decals are projected onto geometry, no compensation has to be made for the model shape, so shifting the transformed point's x and y components up by 0.5 gives U and V coordinates to use for applying the decal's texture.
Output
Since the decals sample from the Geometry Buffer, primarily to compare world positions as mentioned above, they cannot also be rendered to it. However, for them to support a full set of material textures, they need to write data into the buffer!
To solve this, a set of intermediate textures can be rendered to, and then composited into the buffer in a later pass. However, my current implementation uses a secondary buffer that copies from the main instead. This does entail a greater memory use, but can also cut down on rendering costs, since no composition passes need to be performed. I do want to create a composition system to compare it against the buffer copy, but it's been a very low priority.
No matter the solution, the final result is a texture being pasted onto level geometry; a decal is achieved!

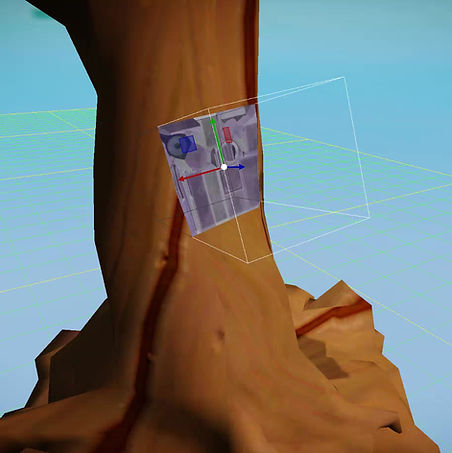
A brick decal applied onto another model. Pixels in red have world positions outside of the decal volume, and must be discarded.

As the bounding volume moves, the decal remains attached to the model underneath; an inherent attribute of screen space decals.